How to Build a Forge in Atomcraft
Double clay U-shape, charcoal fuel, and your first metal melts
How to Build a Forge in Atomcraft
A working forge is the hinge between scavenging and industry in Atomcraft. This guide shows how to build a forge with the correct double clay U-shape, how to produce charcoal for the bottom chamber, how to use Left-Ctrl to pick specific pixels, and how to run early melts such as Cuprite into Copper. When your forge is stable, continue to How to Make Steel in Atomcraft and the Guides hub.
Why the forge matters
Atomcraft does not hand you metal ingots from a crafting grid. Ores are pixels that must be heated in a contained structure until they transform. Clay walls hold heat and shape the chamber. Charcoal supplies the sustained temperature smelting needs. Without a forge, you stall on Plastic and Wood tools; with one, Copper, Tin, Bronze, Iron, and Steel become reachable.
Build near clay sources and wood so repairs and fuel stay short walks. Leave space on at least one side for standing, fueling, and later conveyor feeds described in How to Automate Machines in Atomcraft.
Gather clay, wood chips, and a safe work site
Collect enough clay to form a full double U without thin spots. Harvest wood and break it into chips for charcoal production. Clear flammable clutter from the build pad—stray wood next to an open forge is a common base fire. Keep water or a plan to smother accidents if your layout allows.
If you are still learning movement and inventory, skim How to Play Atomcraft for WASD, Enter, F flashlight, F1 Help, and Left-Ctrl selection before placing structural pixels.
Make charcoal the right way
Charcoal is not a menu craft. Pile wood chips, set the pile on fire, and let the inner chips become charcoal while outer layers burn. Timing and pile size matter: too small and everything turns to ash; too chaotic and you cannot recover the good cores. After the conversion, use careful picking—Left-Ctrl helps isolate charcoal pixels from ash and unburnt wood—then move fuel into storage beside the forge.
Produce more charcoal than one melt requires. Relighting mid-smelt because you underfueled wastes ore and time.
Watch: building and firing an Atomcraft forge
Use this video while you place clay and stage your first charcoal burn so the chamber shape matches a proven layout.
Build the double clay U-shape
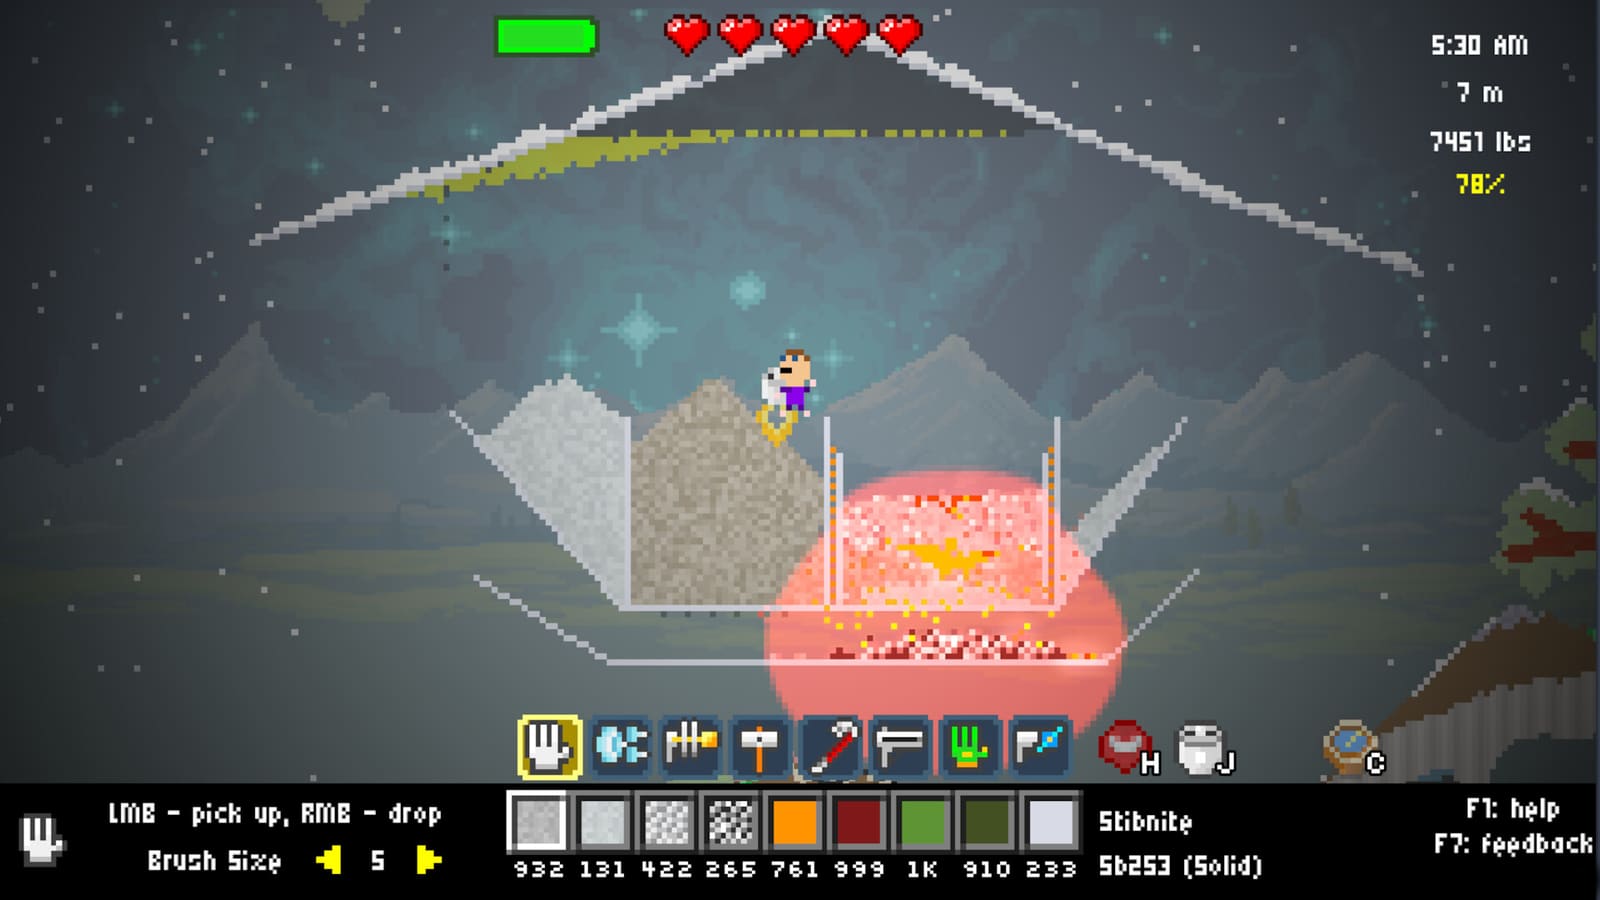
Form clay into a double U-shape—two U profiles that create a stable hearth with walls thick enough to hold heat. The bottom chamber is where charcoal belongs; fuel sits under the working volume so rising heat processes ore above. Avoid single-tile thin walls that crack the thermal envelope. Leave an opening you can reach for loading ore and extracting metal without standing inside molten pixels.
After clay is placed, load charcoal into the bottom chamber, ignite according to how fire spreads in your build, and confirm the chamber stays hot before committing rare ores. The Material Guide (eye tracking) helps you confirm you are holding charcoal versus look-alike dark pixels.
Load ore and run your first melt
Early goal: Cuprite → Copper. Place Cuprite where the forge heat can work it, maintain charcoal below, and watch for the metal transformation. Extract Copper carefully; mixed chambers may contain slag, ash, and unreacted ore. Left-Ctrl lets you pick the Copper pixels you want instead of scooping contaminants back into storage.
With Copper available, upgrade toward a Copper drill, which mines cassiterite. That ore becomes Tin, and Copper plus Tin makes Bronze—steps expanded in the steel guide even though bronze sits earlier on the ladder.
Operating habits that keep forges alive
- Refuel charcoal before temperature collapses mid-melt.
- Separate charcoal storage from ore storage so Left-Ctrl picking stays fast.
- Do not dump water casually into a hot chamber unless you intend a quench reaction.
- Rebuild damaged clay promptly; a broken U leaks heat and fails melts.
- Keep food nearby for long smelting sessions—see How to Cook Food in Atomcraft.
From forge output to Research Points
Metals are tools, but discoveries are currency. When smelting or digging reveals new elements, restore them on the spaceship for Research Points. Pair this forge guide with How to Repair the Spaceship in Atomcraft and How to Get Research Points in Atomcraft so every successful melt funds the next unlock.
Expanding beyond the first hearth
One forge can carry you through Copper and Tin. As Iron and Steel demand rises, consider a second hearth or dedicated charcoal pits so fuel production never starves smelting. Mark floor space for heaters, coolers, and conveyors even if you place them later. Electrolysis chemistry from How to Use Electrolysis in Atomcraft will eventually want its own safe wet area away from charcoal fires.
Troubleshooting common forge failures
Chamber will not stay hot — Check charcoal quantity in the bottom chamber, clay continuity of the double U, and whether wind or open gaps are bleeding heat.
Ore does not change — Confirm you placed the correct ore (Cuprite for Copper), that heat is actually reaching those pixels, and that you are not inspecting ash instead of product.
Inventory grabs the wrong material — Hold Left-Ctrl to select the pixel type you intend. Mixed ash/charcoal/ore piles are normal after a melt.
Base fire spreads — Relocate wood chip charcoal burns away from the main forge hall, or wall them with non-flammable materials.
Cannot mine the next ore — Copper metal must become a Copper drill before cassiterite yields; revisit drill progression in How to Play Atomcraft.
Checklist: forge ready for mid-game
- Double clay U-shape complete with accessible loading side.
- Charcoal production loop from wood chip piles is reliable.
- Bottom chamber fueled and first Cuprite → Copper melt succeeded.
- Left-Ctrl picking used to separate products cleanly.
- Space reserved for future automation and a second fuel stockpile.
- Next goals queued: cassiterite/Tin, Bronze, Hematite/Iron, then Steel.
Master the forge once by hand. Automation can feed it later, but understanding charcoal, clay geometry, and pixel selection is what makes every later Atomcraft factory possible.
Frequently Asked Questions
Quick answers tied to this page.
What shape should an Atomcraft forge be?
Use a double clay U-shape with charcoal loaded in the bottom chamber so heat rises into the working volume where ore melts.
How do you make charcoal in Atomcraft?
Pile wood chips, set them on fire, and let the inner chips convert into charcoal. Pick the charcoal carefully—Left-Ctrl helps separate it from ash.
Why use Left-Ctrl at the forge?
Left-Ctrl lets you pick a specific pixel type from mixed piles of ore, charcoal, ash, and metal so you do not contaminate melts or storage.
What should I smelt first in an Atomcraft forge?
Smelt Cuprite into Copper first. Copper upgrades your drill so you can mine cassiterite for Tin and Bronze.
Where should I build my Atomcraft forge?
Near clay and wood for repairs and charcoal, with clear space for access and future conveyors, and away from uncontrolled flammable stockpiles.