Atomcraft Wiring and Logic: Mechanical Pixels, Doors, and Blenders
Unlock Atomcraft mechanical pixels with Research Points, then wire doors, blenders, and timed logic for safe automation around forges and reaction cells.
Atomcraft wiring turns chemistry into industry. Once you restore enough ship elements to earn Research Points, mechanical pixels unlock and you can build doors, movers, blenders, and timed sequences. This page explains how to think about Atomcraft logic without wiring yourself into a molten corner.
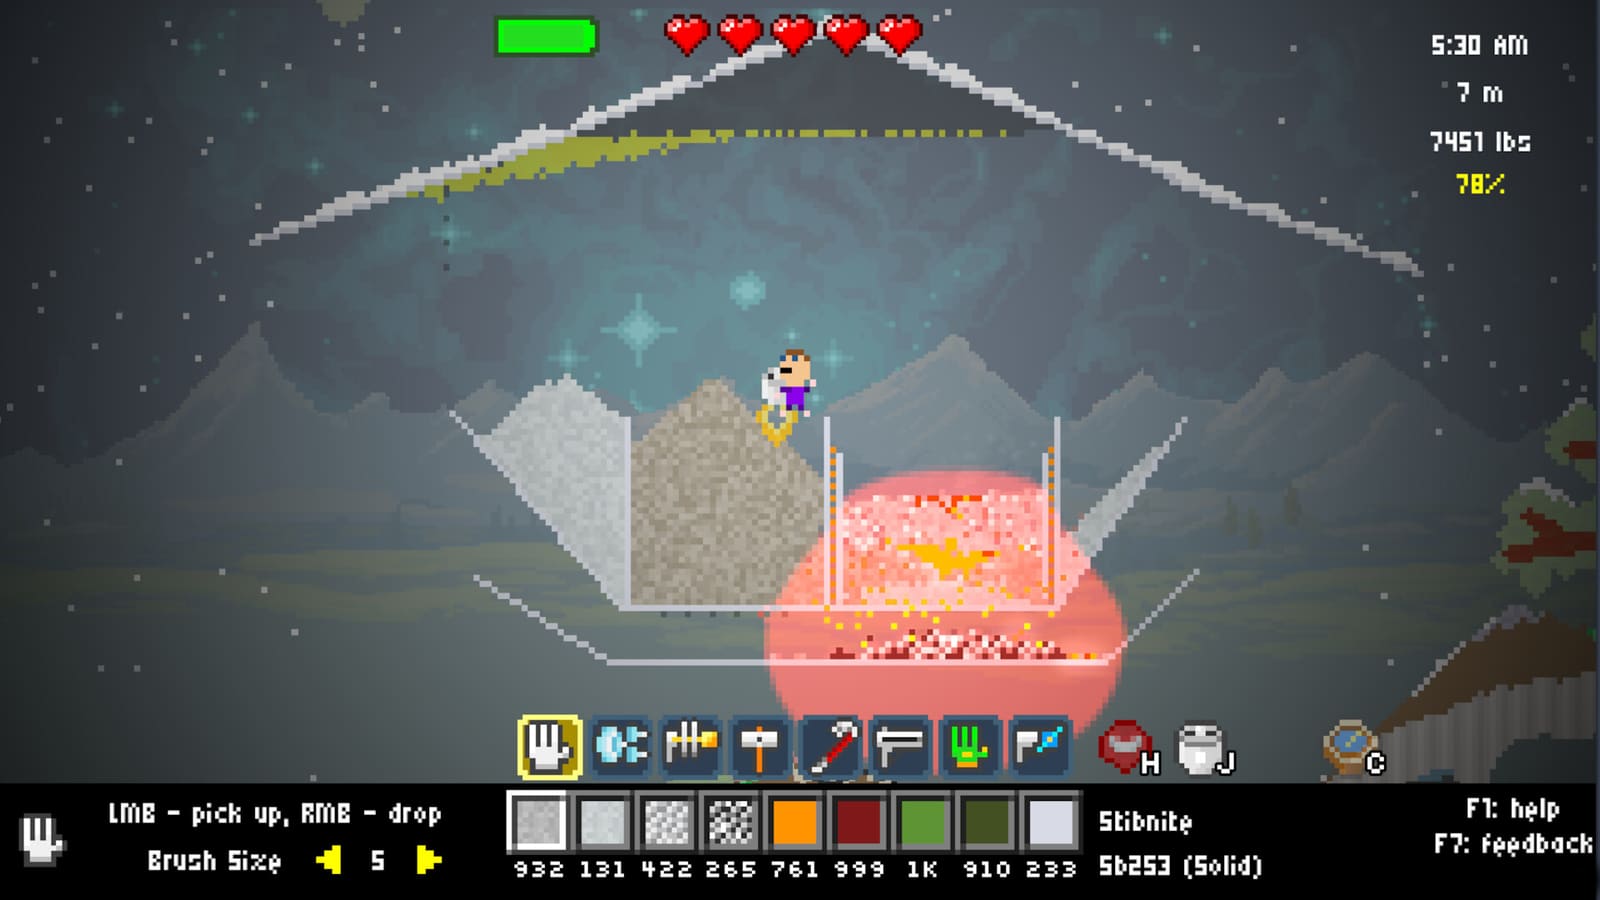
Research Points unlock the wiring layer
In Atomcraft, restoring missing elements on the ship grants Research Points (RP). Diatomic forms count toward restoration, so do not ignore paired gas pixels when scavenging. RP is the gate for mechanical pixels. If your wiring menu looks empty, return to ship completion tasks described in the ship completion walkthrough and the guides hub.
What mechanical pixels are for
Mechanical pixels in Atomcraft are actuators and processors for matter:
- Doors and gates that open on a timer or signal.
- Blenders and mixers that force reagents together in a controlled volume.
- Movers and droppers that feed charcoal or ore into forge lanes.
- Sensors and delays that keep two stages from colliding.
Wiring is less about looking dense and more about one job per lane. A blender that also tries to be a door usually fails both jobs when heat spikes.
Timing doors together in Atomcraft
Synchronized doors are the signature Atomcraft safety pattern. Imagine a reaction chamber that must receive acid, then seal, then vent product:
- Door A opens to admit reagent A.
- Door A closes before Door B opens for reagent B.
- Both stay closed during the reaction window.
- A third door or piston ejects product into a cool chute.
When doors are mistimed, Atomcraft chemistry leaks into hallways, kills you, or contaminates ship crates. Practice timing on harmless water and dust before you schedule nitroglycerin-class machines covered on safe reactions.
A late-June 2026 wiring reliability patch fixed many L-corner junction failures that previously dropped signals at right-angle turns. If an older save still misbehaves, re-seat corners with the Atomcraft Wrench and verify programmable cells on the programmable pixels page before rebuilding entire bays.
Blender thinking
Blenders in Atomcraft exist to create intimate pixel contact. Use them when gravity layering is not enough—for example, forcing aqueous mixes or preparing feedstock for lithium chemistry from Buried City Lepidolite. Keep blender chambers:
- Small enough that every pixel participates.
- Vented or cooled so heat does not flash reagents away.
- Fed by hoppers you can shut with a door if Material Tracking shows the wrong sparkle color entering.
Wiring around forges and jetpacks
Atomcraft jetpack mobility tempts tall vertical factories. Vertical is fine, but put wiring trunks on the cool side of clay walls. Mechanical pixels cooked by forge heat become unreliable. Leave a jetpack shaft that never intersects molten channels. Enemies and bats still appear in open builds; a door you can slam shut is better than a perfect circuit you die defending.
Suggested Atomcraft logic projects
- Charcoal autofeed into a double-U forge lower channel.
- Ore dropper that releases Cuprite only when charcoal is hot.
- Two-door airlock between limestone cave shafts and camp.
- Blender cell for early aqueous mixes with a timed purge door.
- Product sorter that uses sequential gates to separate slag from metal.
Each project teaches one Atomcraft idea: feed, meter, isolate, mix, sort. Combine them only after each works alone.
Debugging Atomcraft wiring
- If nothing moves, confirm RP unlocks and that mechanical pixels are actually placed.
- If everything moves at once, your signals share a bus that should be split.
- If products vanish, a door opened into a void or fire lane.
- If bats path into the machine, add a sacrificial outer door before the logic core.
- If the wrong material enters, enable Material Tracking sparkles and add a filter chest or manual Ctrl-pick stage.
Cross-links that keep wiring honest
Wiring without materials knowledge wastes RP. Keep the materials hub, tools pages, map, and controls open while you design. Limestone caves and Buried City change which reagents your blenders should expect; see limestone caves walkthrough and Buried City walkthrough.
Layout template for an Atomcraft logic bay
- Top row: input chests and Material Tracking beacon zone.
- Middle row: blender or reaction cell with paired timed doors.
- Bottom row: product chute into cooled storage.
- Side trunk: wiring spine far from forge heat.
- Outer shell: combat door and jetpack alcove.
Habits of reliable Atomcraft automators
Document your timing in a note: how many beats Door A stays open, how long the blend runs, when purge happens. Atomcraft sessions get long; memory fails before chemistry does. When you return from Buried City with Borax, Pyrolusite, Columbite, or Lepidolite, you want machines that resume without redesign.
Wiring is how Atomcraft graduates from survival to factory. Keep circuits boring, doors synchronized, and blenders small. Flashy spaghetti is how bases disappear.
Frequently Asked Questions
Quick answers tied to this page.
How do I unlock wiring in Atomcraft?
Earn Research Points by restoring ship elements, including diatomic forms, then spend that progress on mechanical pixel unlocks.
What should I automate first in Atomcraft?
Automate charcoal feed and a simple ore dropper for the double-U forge before building complex blender farms.
Why time doors together in Atomcraft?
Synchronized doors isolate reagents, prevent hallway leaks, and make dangerous reactions repeatable instead of accidental.
Can heat break Atomcraft mechanical pixels?
Place wiring on the cool side of clay walls. Forge heat and runaway reactions can ruin automation sitting in the wrong lane.
Do I need the Copper drill before wiring?
You can experiment early, but Copper-tier digging and limestone access make automation inputs sustainable.